A guaranteed destination
The clip resolves on the image you chose — a product hero, a title card, a final pose — instead of wherever the model happened to drift.
This start and end frame video generator takes two images — the opening shot and the final shot — and a line about what happens in between. It generates the motion that connects them, so the clip ends exactly where you planned.
You need an account to generate. Each run spends credits according to model, duration and resolution, and the exact cost is shown on the button. Failed tasks are refunded automatically.
Each example shows the supplied opening frame, the generated clip and the supplied closing frame. The motion in the middle is the only part the model had to invent.
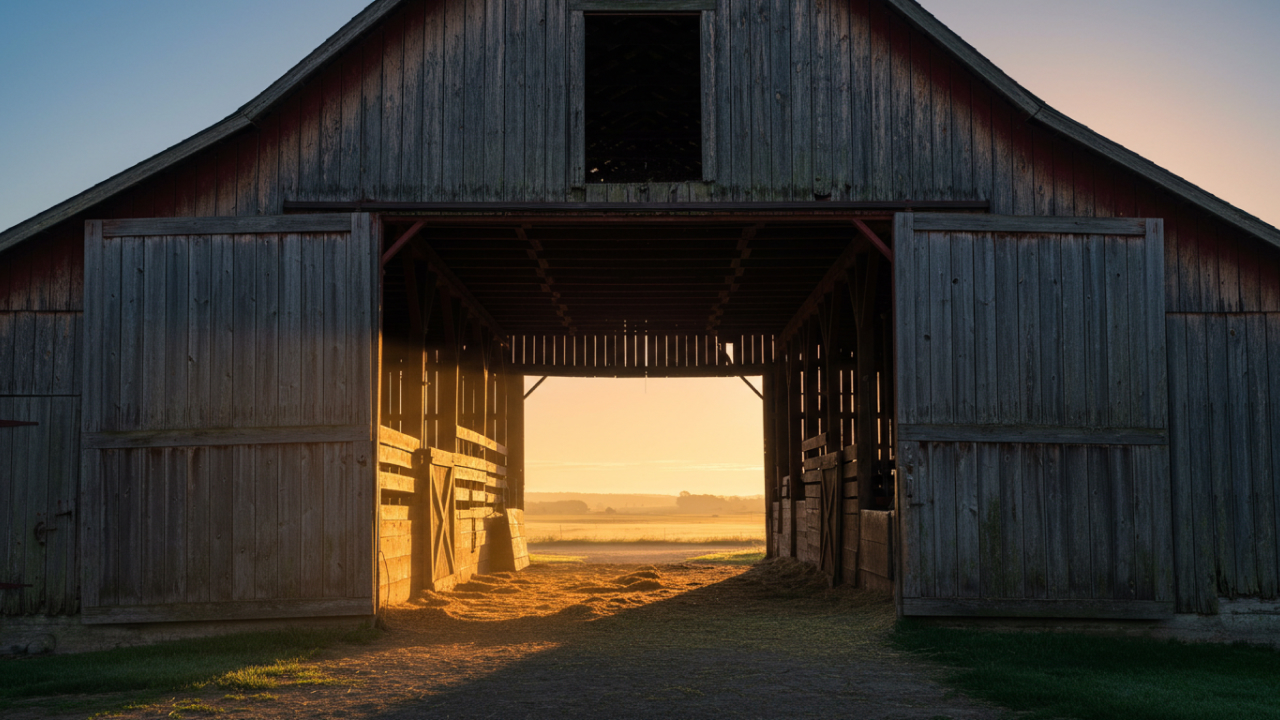
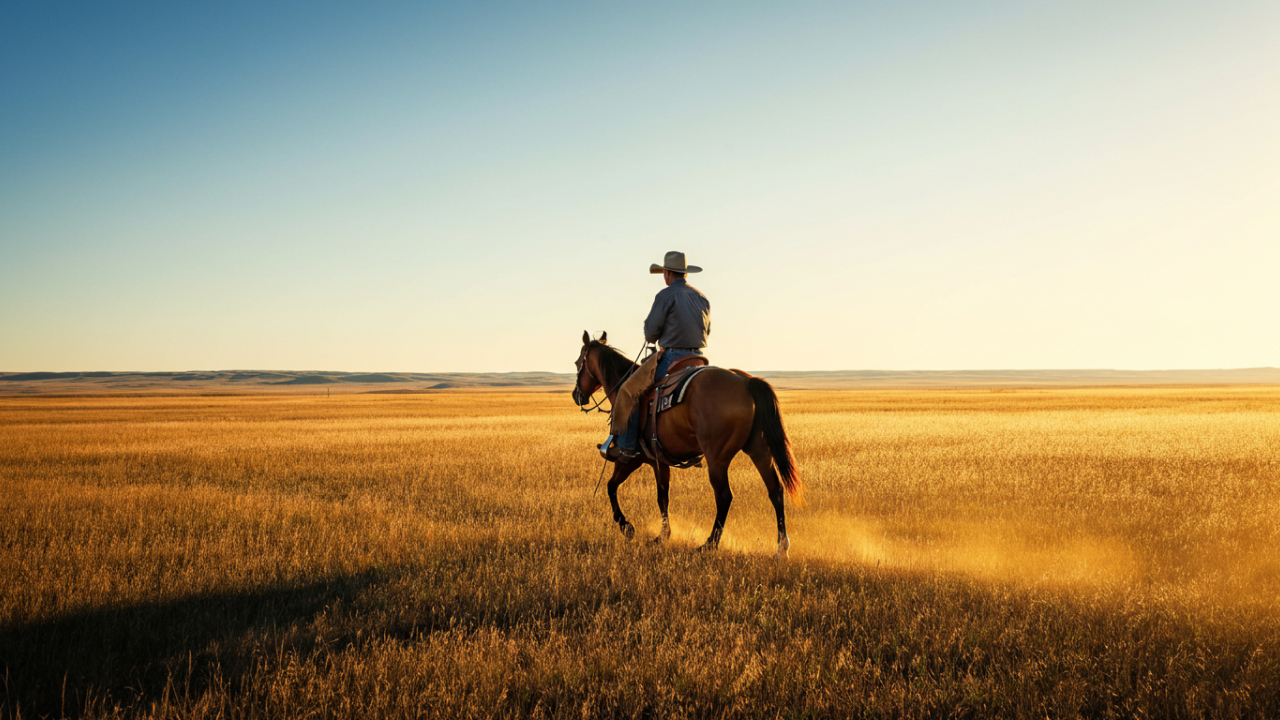
Most AI video decides for itself where a shot ends up. Setting the last frame yourself turns generation into keyframing: you fix both ends and direct the journey.
These models accept both a first and a last frame. Veo 3.1 Fast is the default for clean, cinematic transitions; Seedance, Kling v3, PixVerse v6 and Vidu Q3 offer different motion styles, lengths and sound options.
A fixed start and end removes most of the guesswork. What is left is the part you actually want to direct: the motion.
The clip resolves on the image you chose — a product hero, a title card, a final pose — instead of wherever the model happened to drift.
Describe the path between the frames: how the camera travels, what the subject does and how light or colour changes along the way.
Reveals, morphs, push-ins through a window, time-of-day shifts and cuts between locations all come from the same two-image setup.
Duration, aspect ratio, resolution and audio follow what the selected model supports, so you can match the transition to where it will be used.
The better the two images relate to each other, the smoother the shot between them.
Upload the opening image into the first slot and the closing image into the second. Related subjects or a deliberate transformation connect most naturally.
Explain how the camera moves, what the subject does, how fast it happens and what must stay consistent from the first frame to the last.
Preview the transition, then tweak the prompt, the duration or one of the endpoint images until the motion follows your plan.
Whenever the final frame matters as much as the motion, two keyframes beat a single prompt.
Start in an atmospheric setup and land on a clean, lit hero shot of the product, ready to cut straight to a price or a call to action.
Carry a subject from one material, era or art style into another — photo to painting, day to night, sketch to finished render.
Push in, pull back, orbit or fly through a doorway toward a destination you already know, instead of hoping the camera finds it.
Link two different locations with a motivated move, a matched shape or a lighting change, for a transition that feels designed rather than cut.
Define where a jump, a run or a dance move begins and ends, and let the model animate the body in between.
Steer a short ident or opener toward an exact final composition, so the last frame is the logo or title card you designed.
Published start-and-end-frame demonstrations that show the technique. Study how the two images relate, then upload your own pair above.
The credit cost of every run is shown before you generate. Check the path on a short take, then render the final at the resolution you need.
It is an AI video tool that takes two images — the first frame and the last frame of a shot — plus a prompt, and generates the motion that connects them. It works like keyframing in animation: you set both ends and the model fills in the frames between.
The first image slot is the opening frame and the second is the closing frame. With only one image, the generator runs normal image to video; adding the second image switches it to a first-and-last-frame generation.
It produces smooth, cinematic transitions between two frames at a reasonable cost, which makes it a good first try. Seedance, Kling v3, PixVerse v6 and Vidu Q3 also support two frames and are worth comparing on the same pair.
It works best when they do, and when both match the aspect ratio you pick for the video. Mismatched sizes force the model to crop or extend one of the frames, which can make the transition less clean.
Yes. The model will try to build a believable path between them — a camera move, a morph or a lighting change. The more the two images share (a subject, a shape, a colour), the more natural the bridge looks.
Describe the motion rather than the images: the camera path, the subject's action, the pace and any change in light or style. You don't need to repeat what is already visible in the frames.
Yes. Put the starting state in the first frame and the transformed state in the last, and say how the change should happen — melting, folding, growing or dissolving.
The start is very close to the first image and the clip is steered to finish on the second, but the end can differ slightly in detail. Clear, high-quality frames that are plausibly connected give the most accurate endings.
Yes, as long as the selected model supports vertical output. Use vertical images for both frames and choose 9:16 before generating.
No. They are published demonstrations of the first-and-last-frame technique from model developers and example sites, shown here to illustrate what the workflow can do. Your own results depend on your frames, prompt and model.
Yes. Export the final frame of a clip and use it as the first frame of the next generation to build a longer sequence that flows from shot to shot.
Upload an opening frame and a closing frame, describe the move, and let the model build the shot that joins them.
Connect My Frames